Windows 11 System Requirements to Run Android 12L
I don’t want to catch you by surprise and inform you that this is an official Android simulator from Google. If you are aware of the Windows system requirements to run an emulator, then move on to the next part of the tutorial.
Processor – Quad-Core CPU with threadsMinimum i5 or Ryzen 5 processor is required for the process.8GB RAM – A higher memory count is required to run Android on Windows.GPU – Minimum GTX or AMD RX series
I’m not sure if the newer integrated AMD Vega series and Intel’s Iris Xe graphics can handle the two operating systems in the machine. The discrete GPU should have a minimum of 2GB VRAM.
Storage – 30GB free storage; Get an SSD for faster loading speeds.Internet – You have to download Android Studio and packages over the internet, so you have to be prepared for the process. Connect your laptop or desktop to a Wi-Fi network so you can download approximately 3GB – 5GB packages over the internet.Virtualization – Many modern AMD and Intel processors have Hyper-V or Intel Virtualization Technology in the CPU.
Unfortunately, I can’t show you how to enable virtualization from the BIOS. Every motherboard has a unique BIOS interface and names the technology differently, so you have to figure it out yourself. You can Google the query and find results to enable Hyper-V in your BIOS. You cannot skip the virtualization part because the Android simulator won’t work in the system.
1. Install Android Studio
Android Studio is the flagship program offered by Google, and you need the program to try the new 12L on the Windows PC. Let me show you the way and install Android Studio on the PC.
Go to the Android Studio site.Click on the “Download” button. Android Studio package size is around 1GB – 1.2GB.
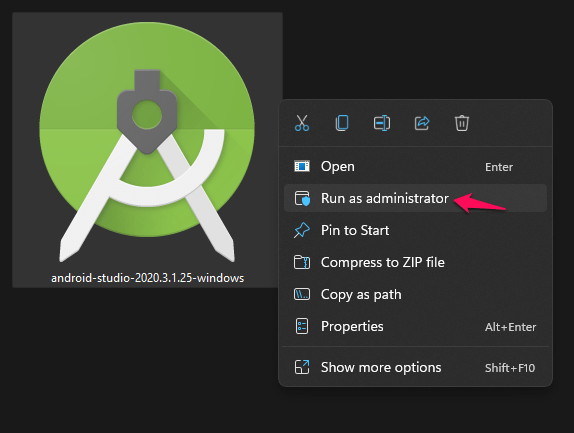
Run the executable program as administrator.
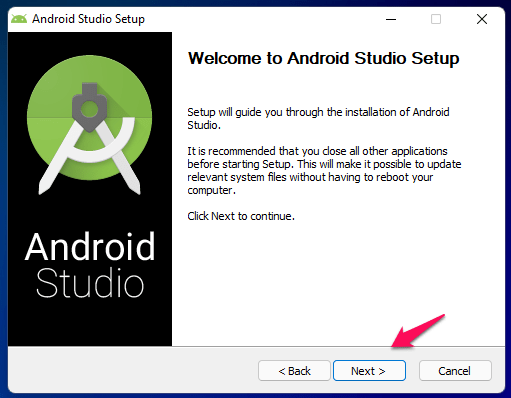
The setup window will show up and click on the “Next” button.
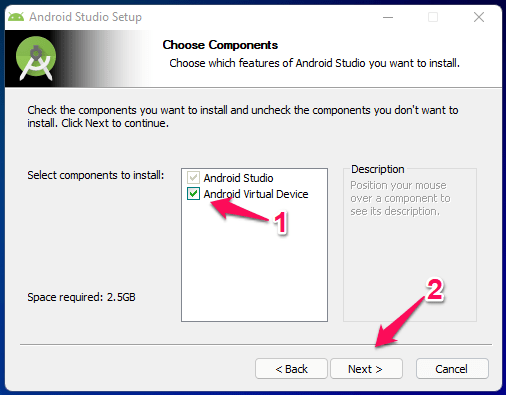
Select “Android Virtual Device“, then click on the “Next” button.
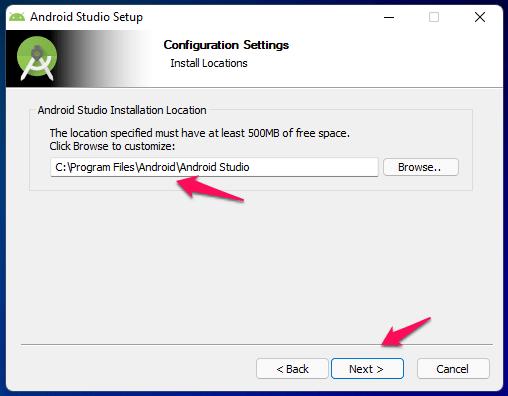
Choose the installation folder, then click on the “Next” button.
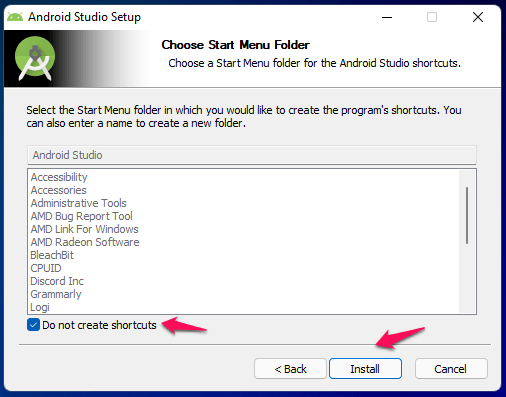
Deselect “Do not create shortcuts“, then click on “Install“.
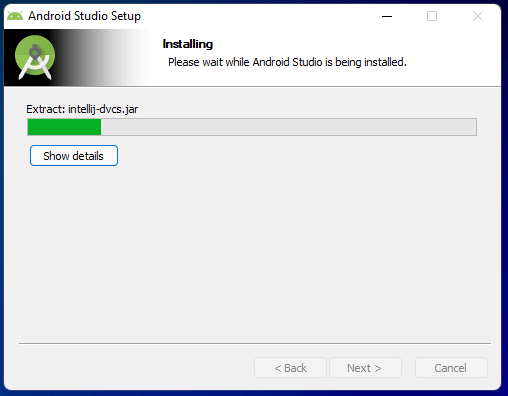
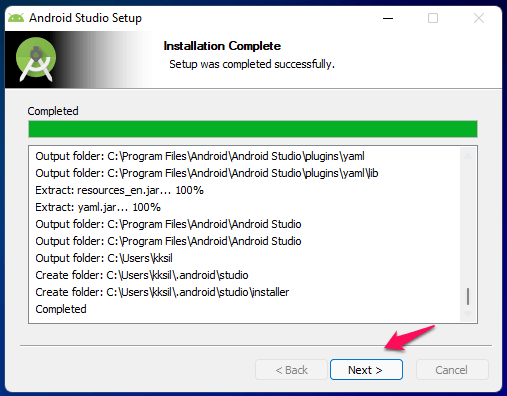
Let the program unpack the files and install them during the process.
Click on “Next” after the installation is finished.
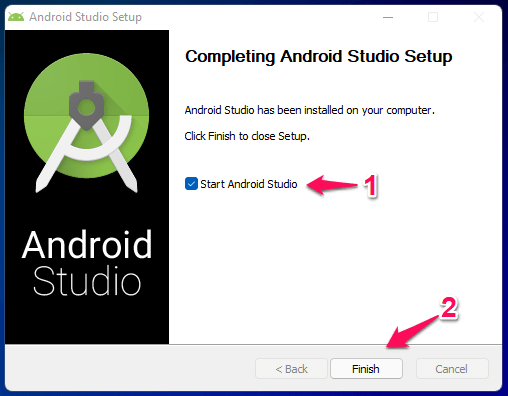
Select “Start Android Studio” then click on “Finish“.
The official Android emulator launches in the machine for the first time. Make sure to follow the next tutorial to avoid any problems while running the 12L version.
2. Setup Android Studio
It’s time to show you how to set up the Android Studio. So you don’t miss out on important updates and customizations.
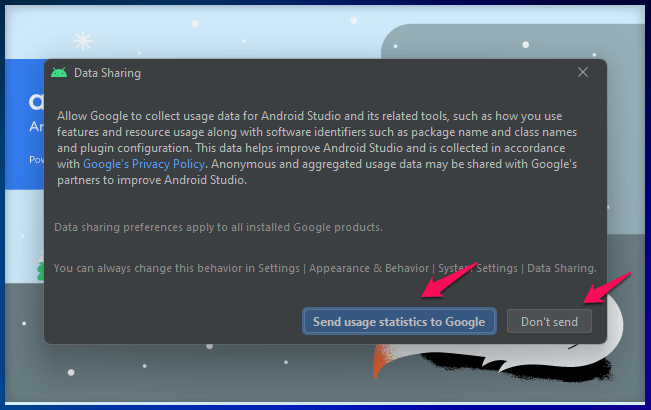
Android Studio launches automatically in the system.You can opt-in or opt-out from sending statistics to the service.
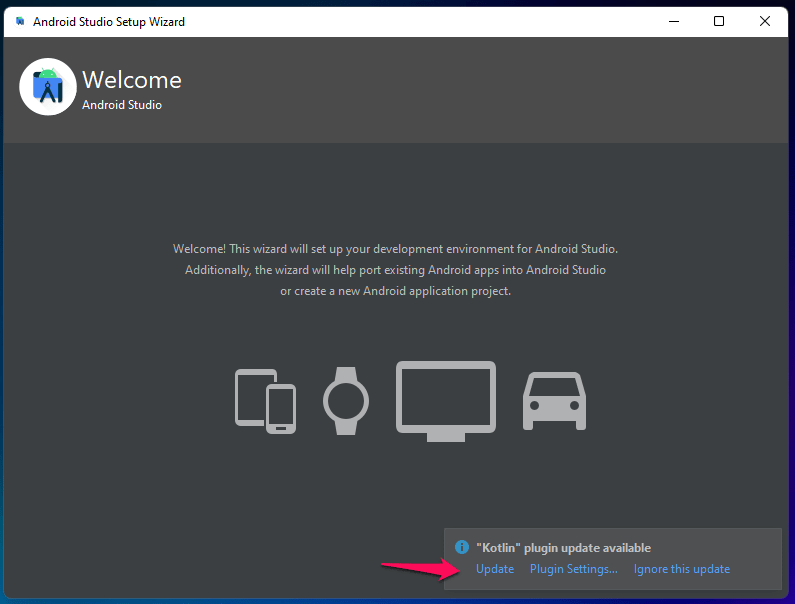
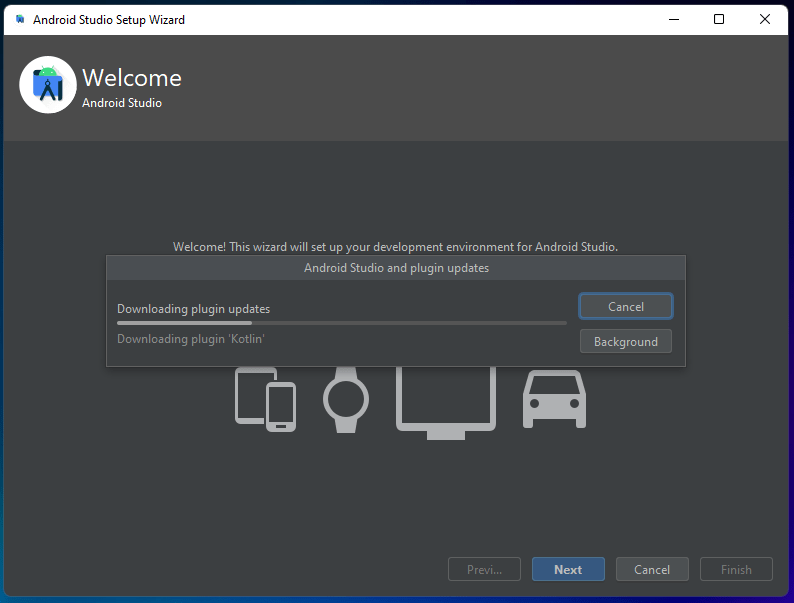
If there is any plugin update available, and do not hesitate to install it.
Let the updates download.
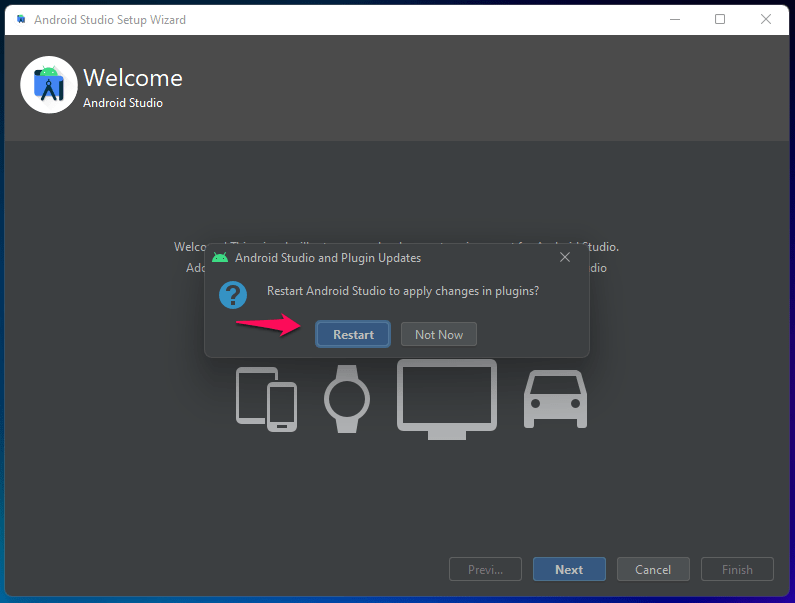
Click on “Restart” after the updates are installed on the PC.
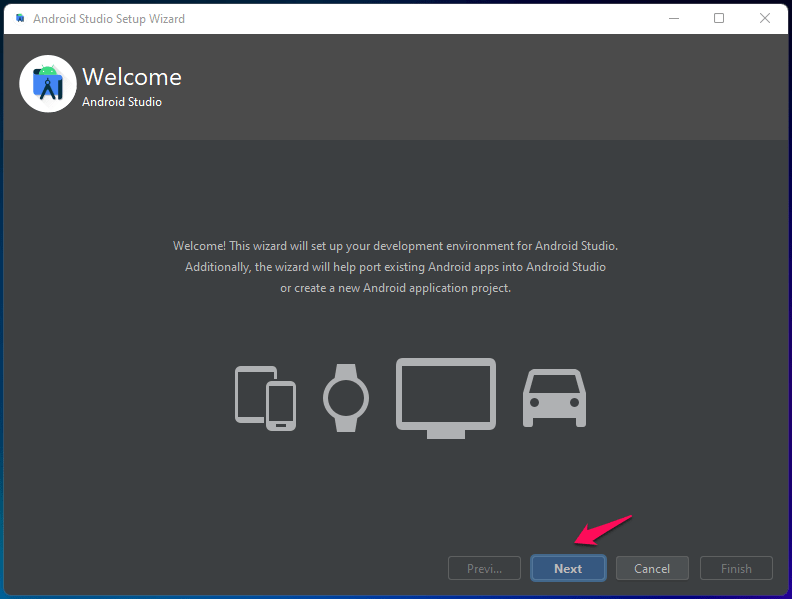
Click on “Next” after the program restarts.
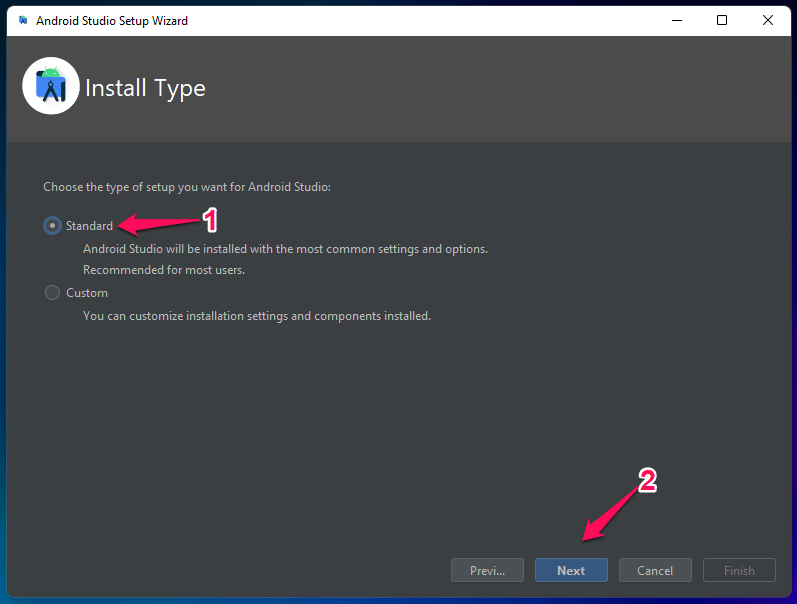
Choose “Standard” then click on “Next” to continue.
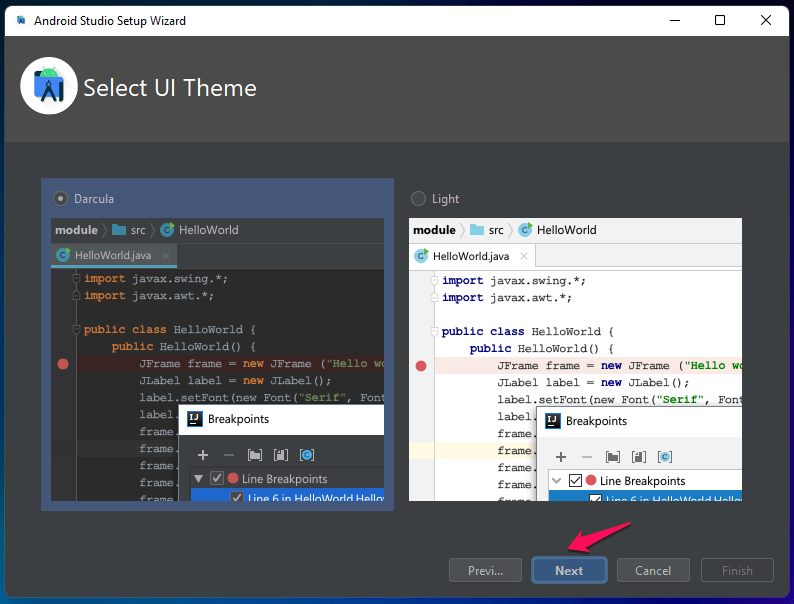
Choose a theme, and I selected dark mode, then click on “Next“.
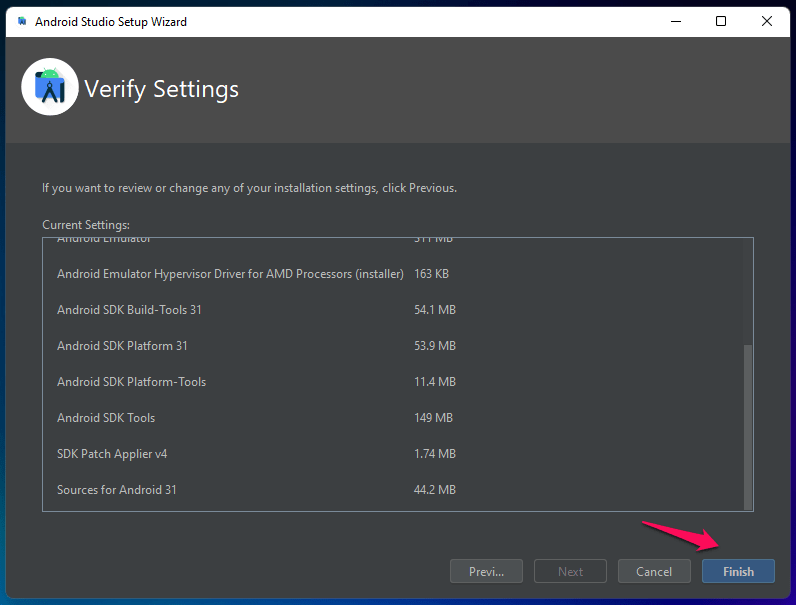
Click on “Finish“.
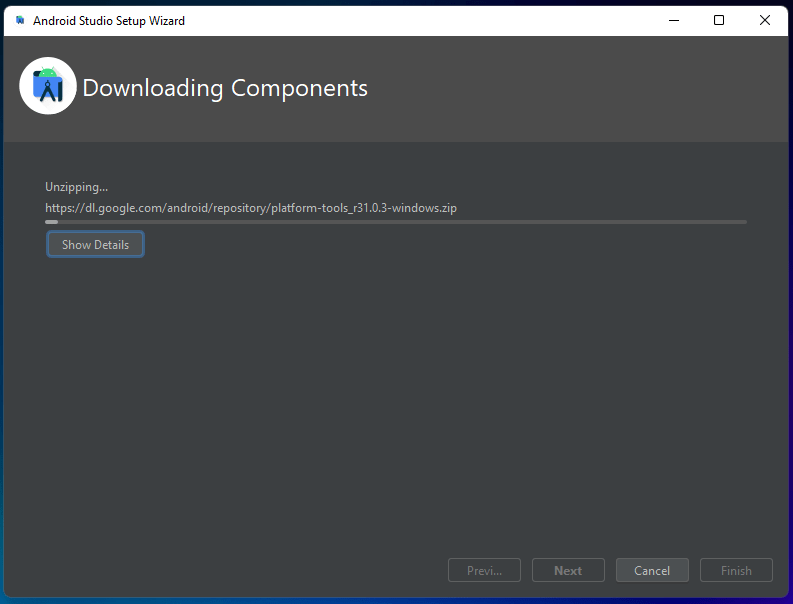
The program will download components and unzip some files.
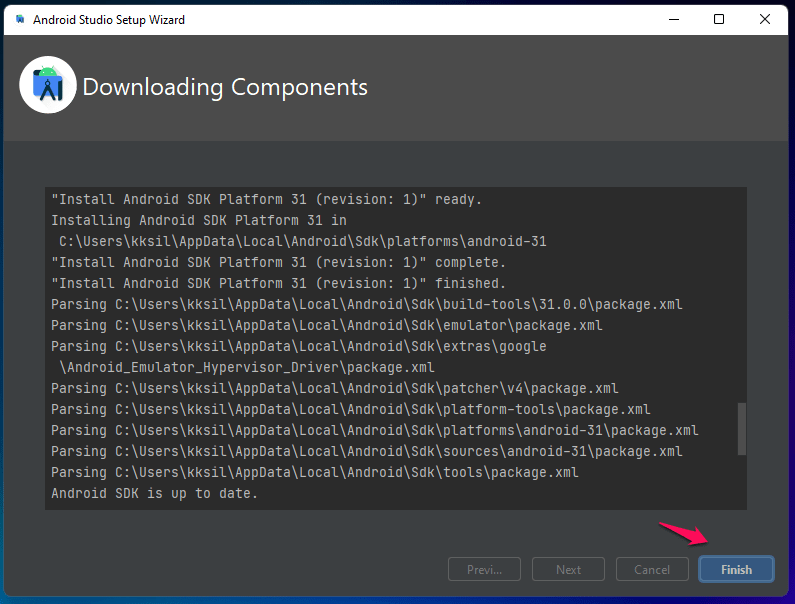
Click on “Finish”.
The simulator is ready to roll the 12L edition.
3. Configure Android 12L in Windows 11
It’s time to set up the virtual device in the machine, and you have to follow my lead to replicate the settings to add a 12L tablet.
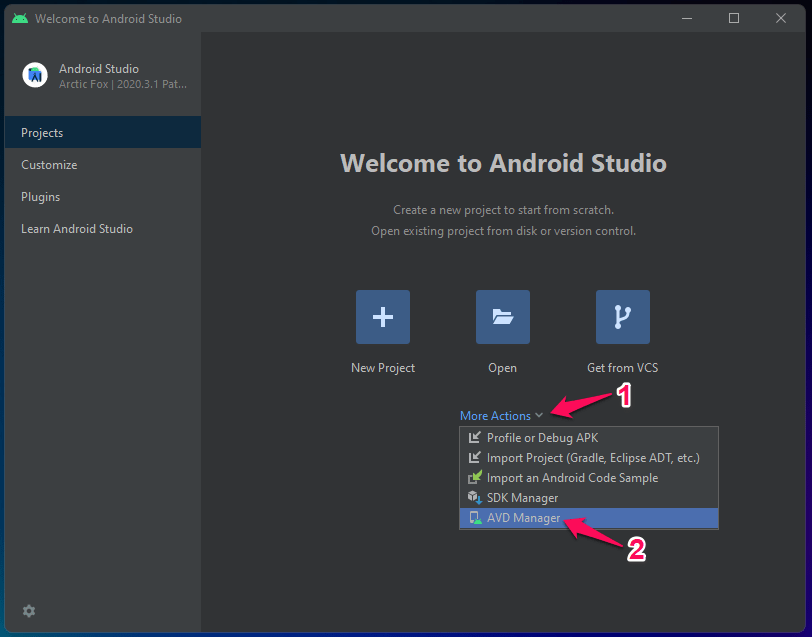
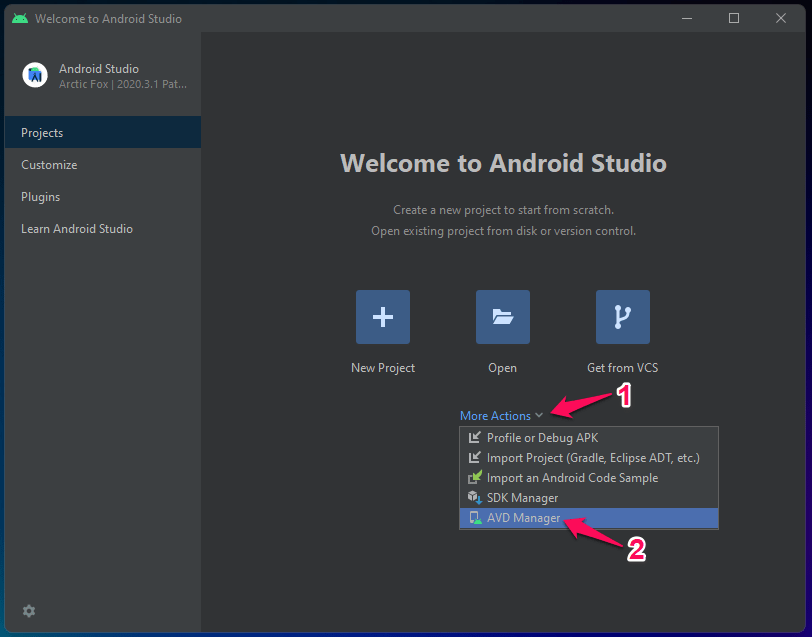
Launch Android Studio.Click on “More actions” and choose “AVD Manager“.
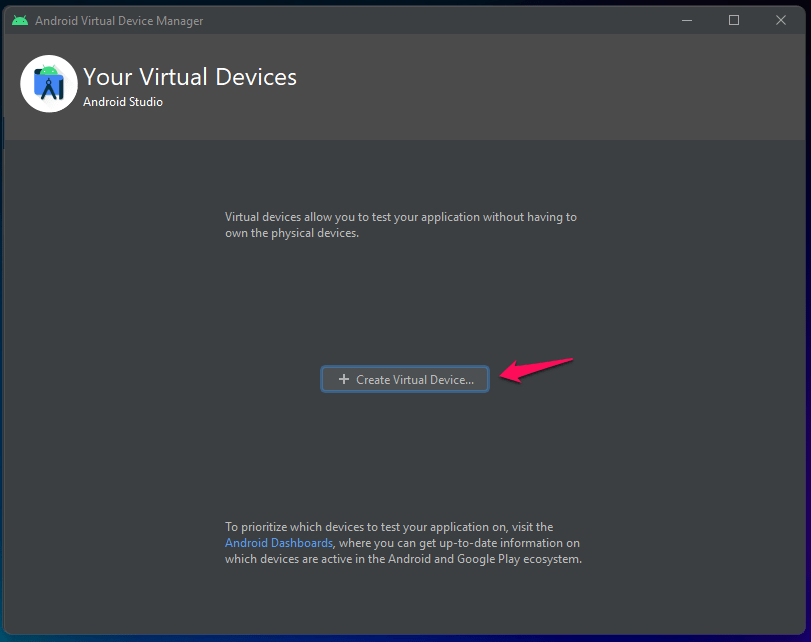
Click on “Create virtual device“.
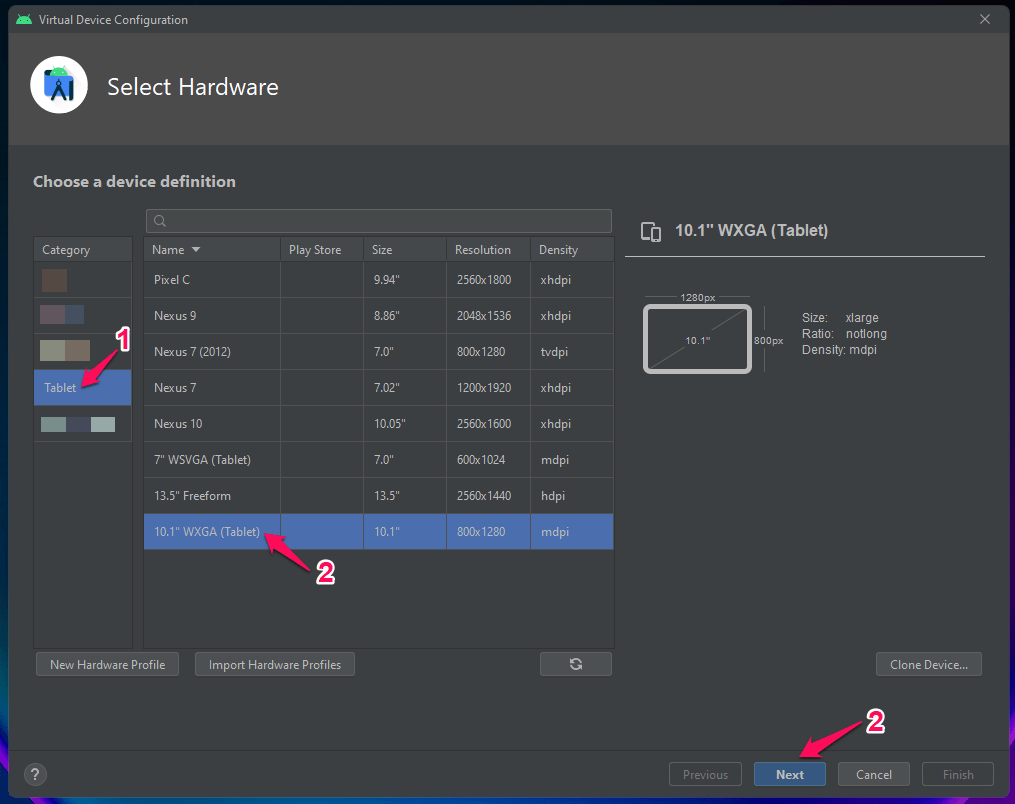
Click on “Tablet” from the side menu, then choose the “10.1 WXGA (Tablet)” option, and then click on the “Next” button.
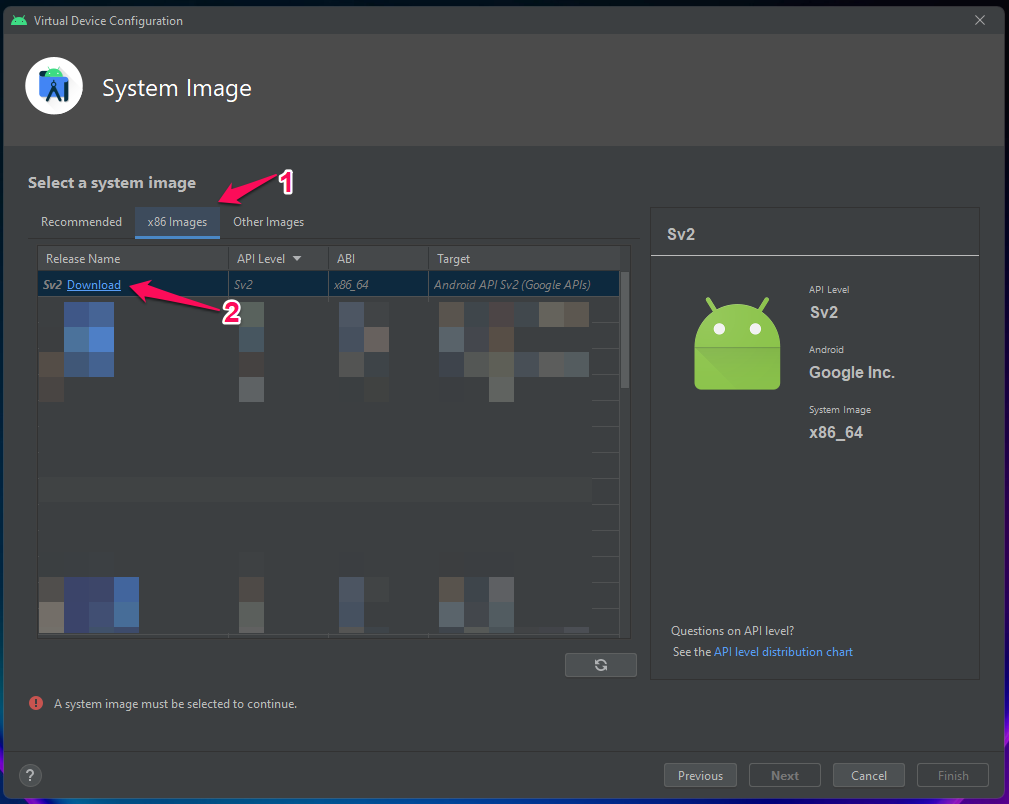
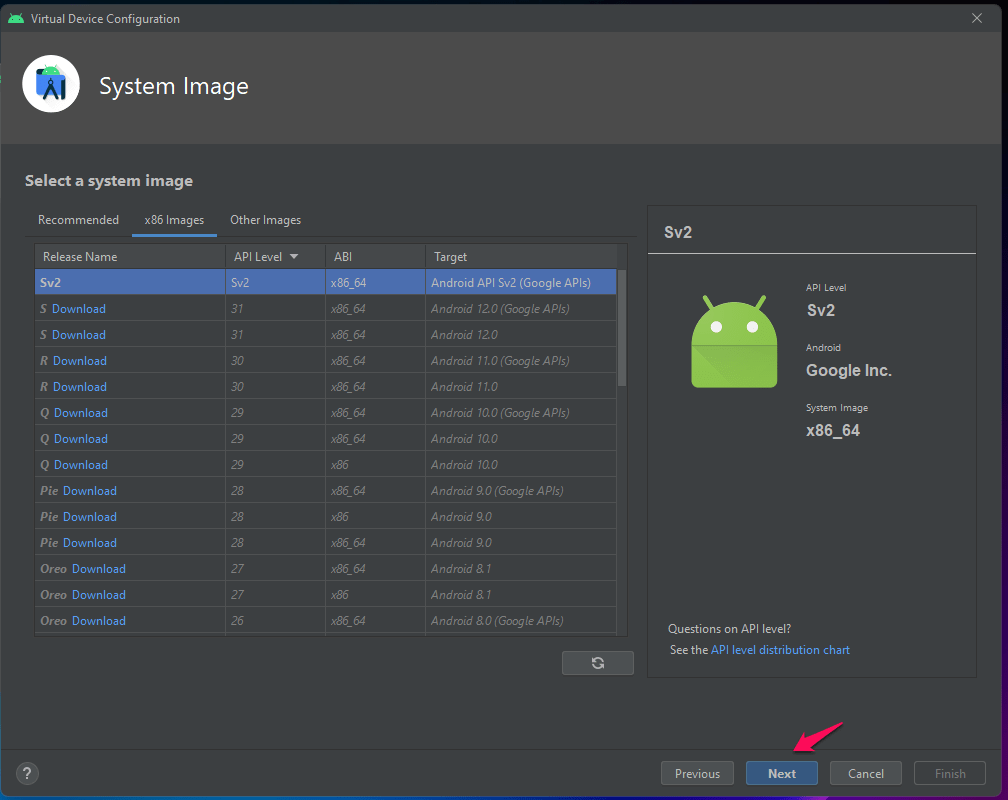
Select “x86” to choose “Sv2 download” to view more options.
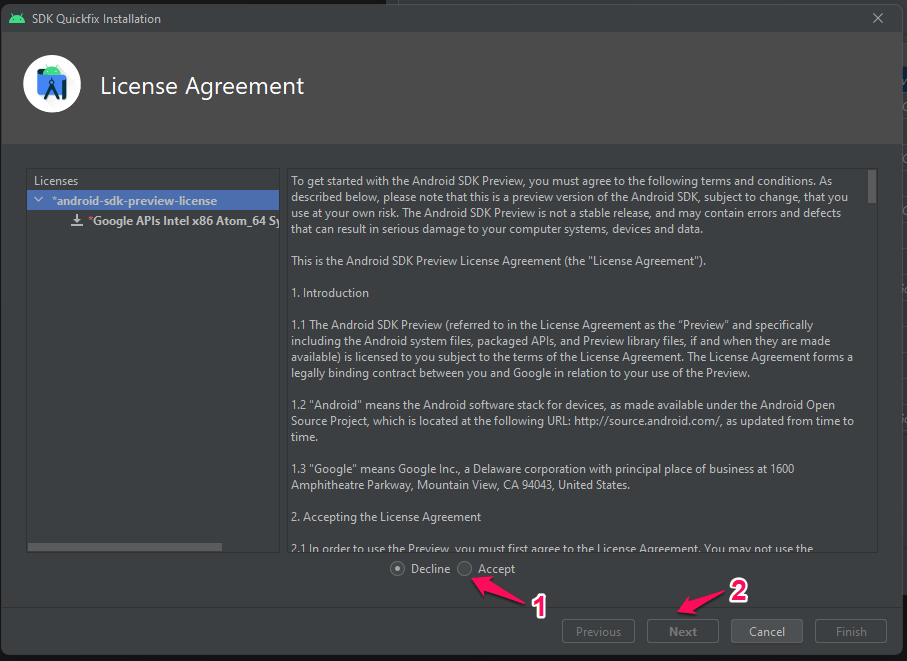
Accept the agreements, then click on “Next” to continue.
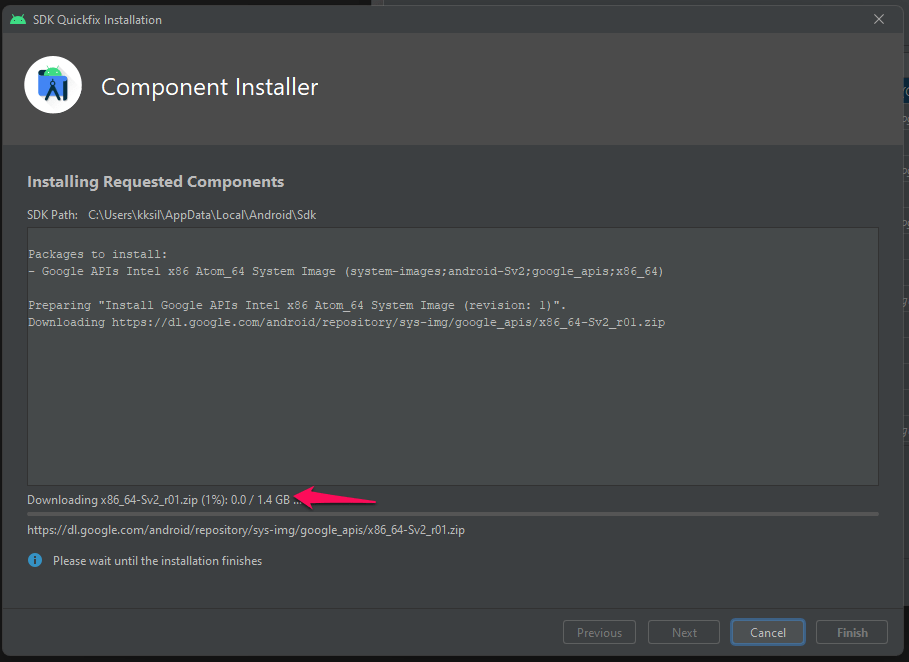
Wait till 12L is downloaded in the program.
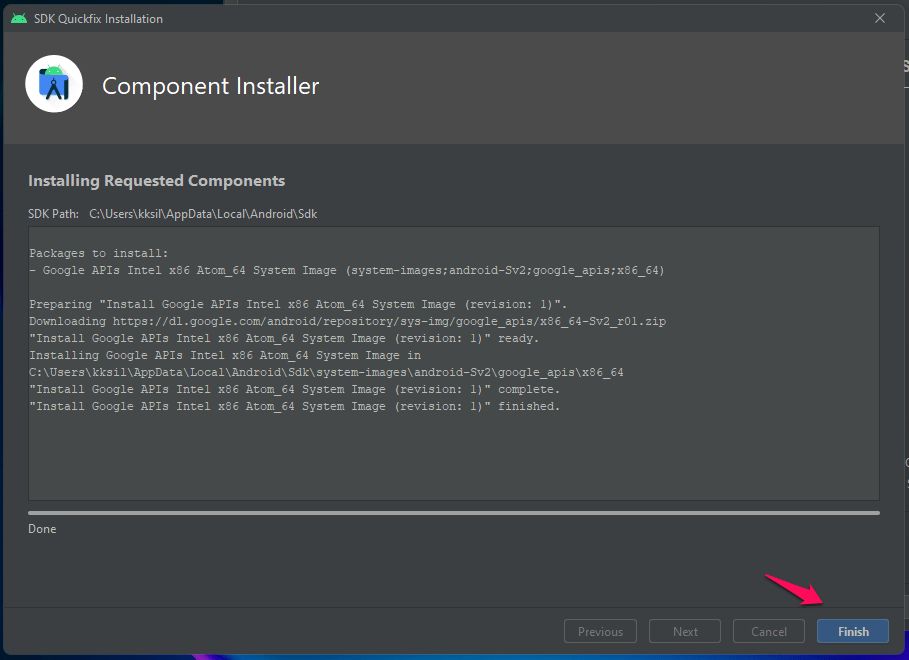
Click on “Finish“.
Select “Sv2 Download” again, then click on “Next“.
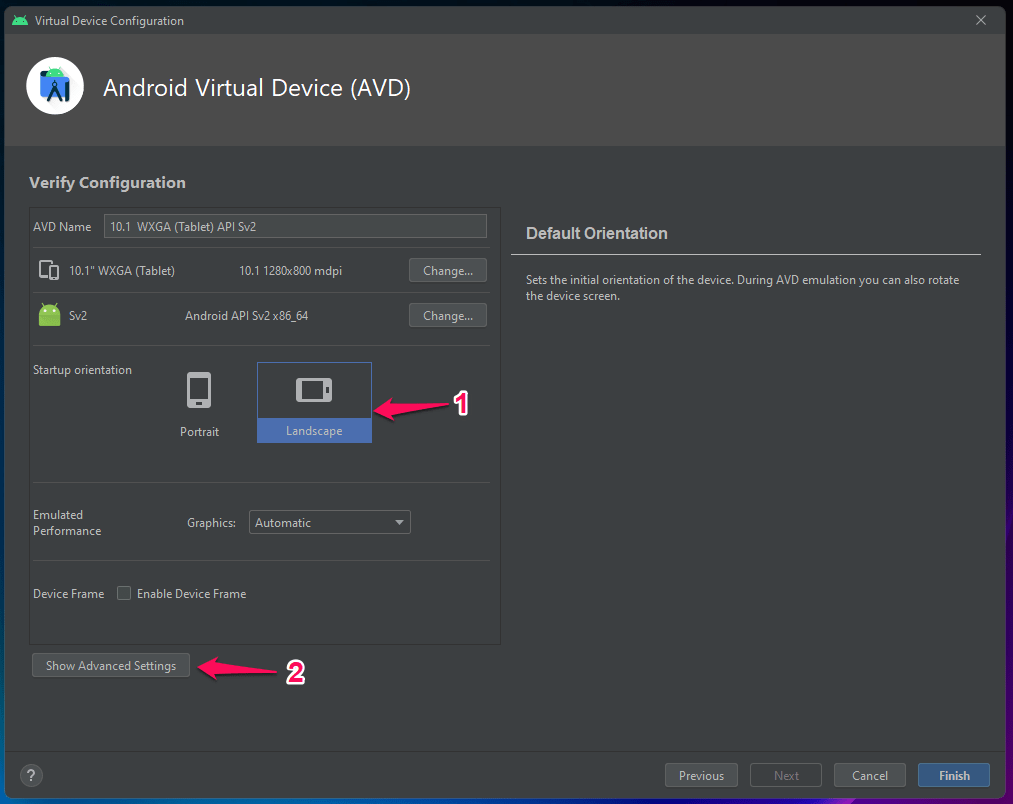
Select “Landscape” then click on “Show Advanced Settings“.
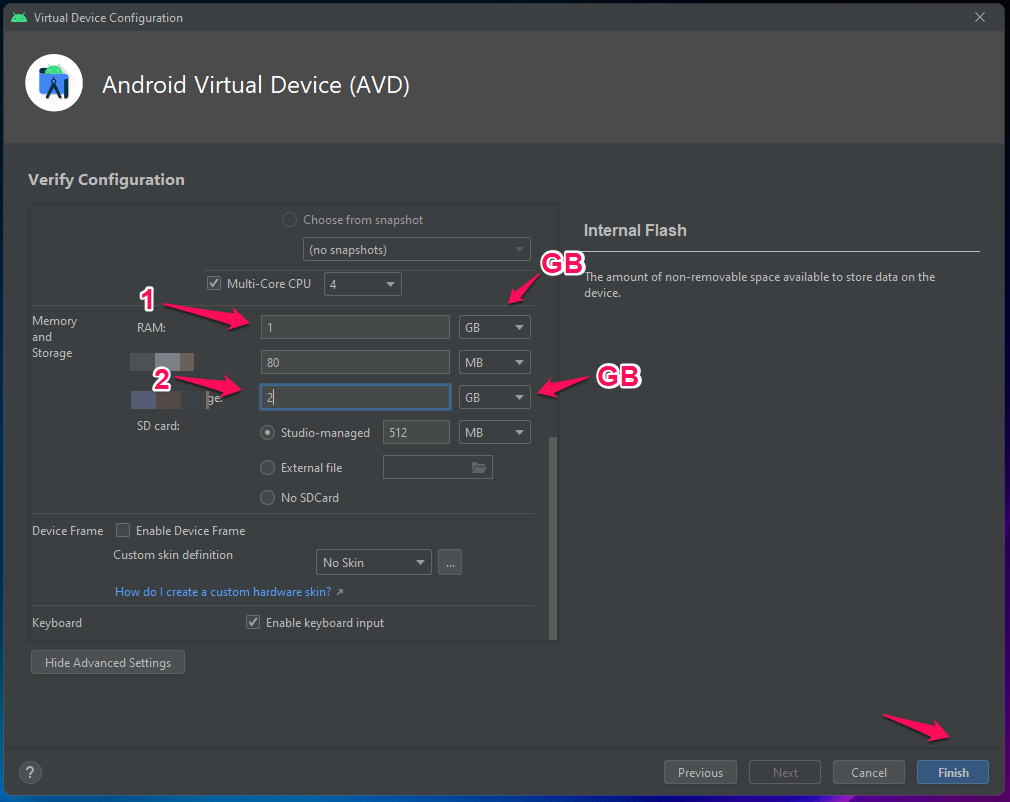
Copy the settings shown in the snapshot, then click on “Finish“.
→ Select 1GB RAM. → Select 2GB storage.
Click on the “Play” icon under “Action” to start the Android emulator.
The Android 12L emulator will run smoothly in the system, and you don’t have to sign in or signup for a Google account.
4. How to Launch Android 12L in Windows 11?
Do not miss this part, or else you will end up spending hours trying to find out how to launch the installed 12L emulator.
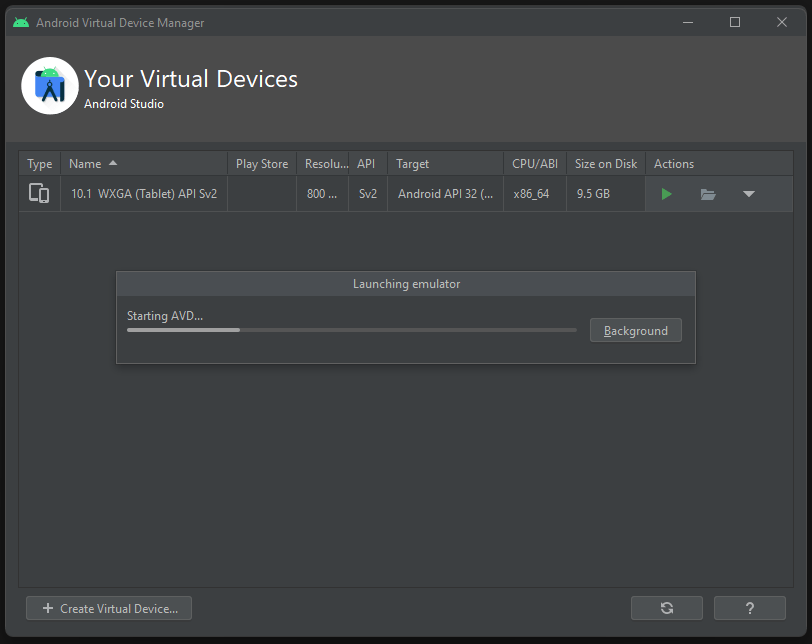
Open Android Studio.Click on “More actions” and choose “AVD Manager“.
Click on the “Play” icon under “Action” to start the Android emulator.
Let “Starting AVD” run the simulator dependencies.
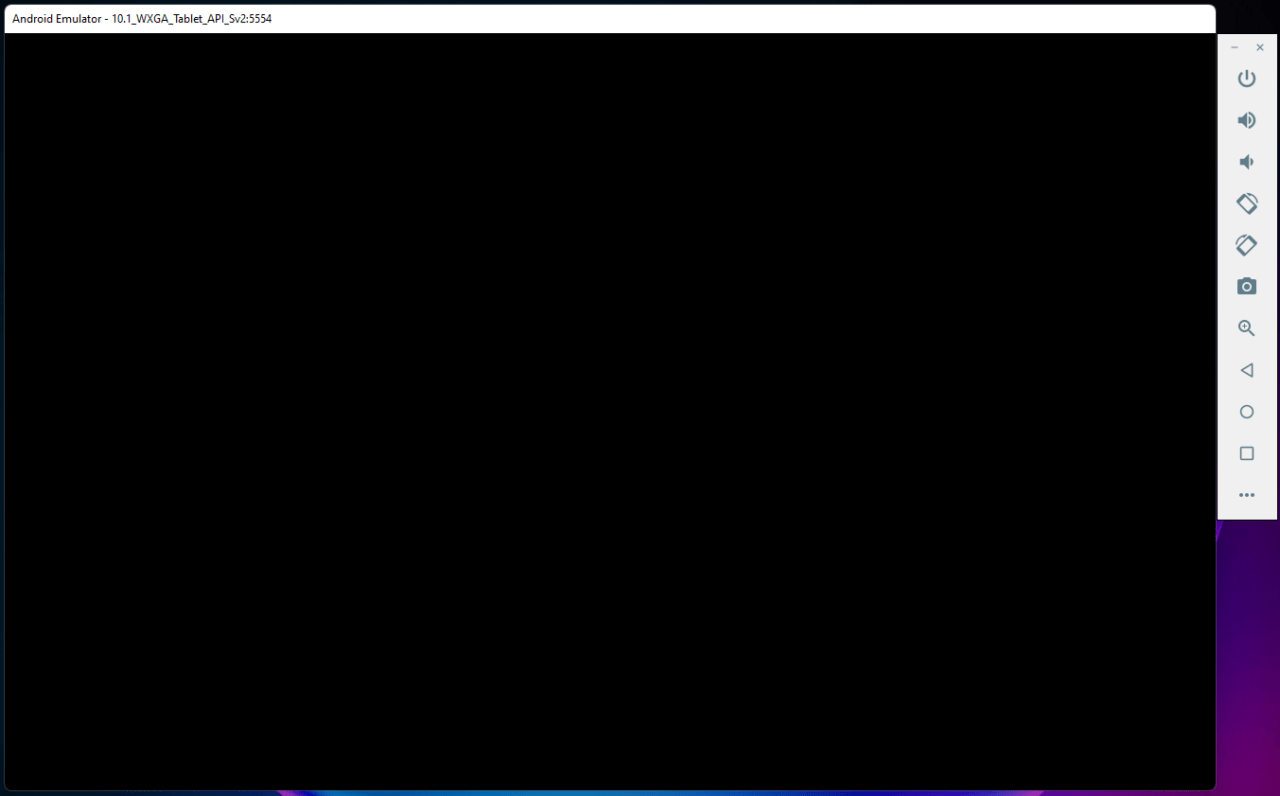
A blank player will show up on the screen, but be patient.
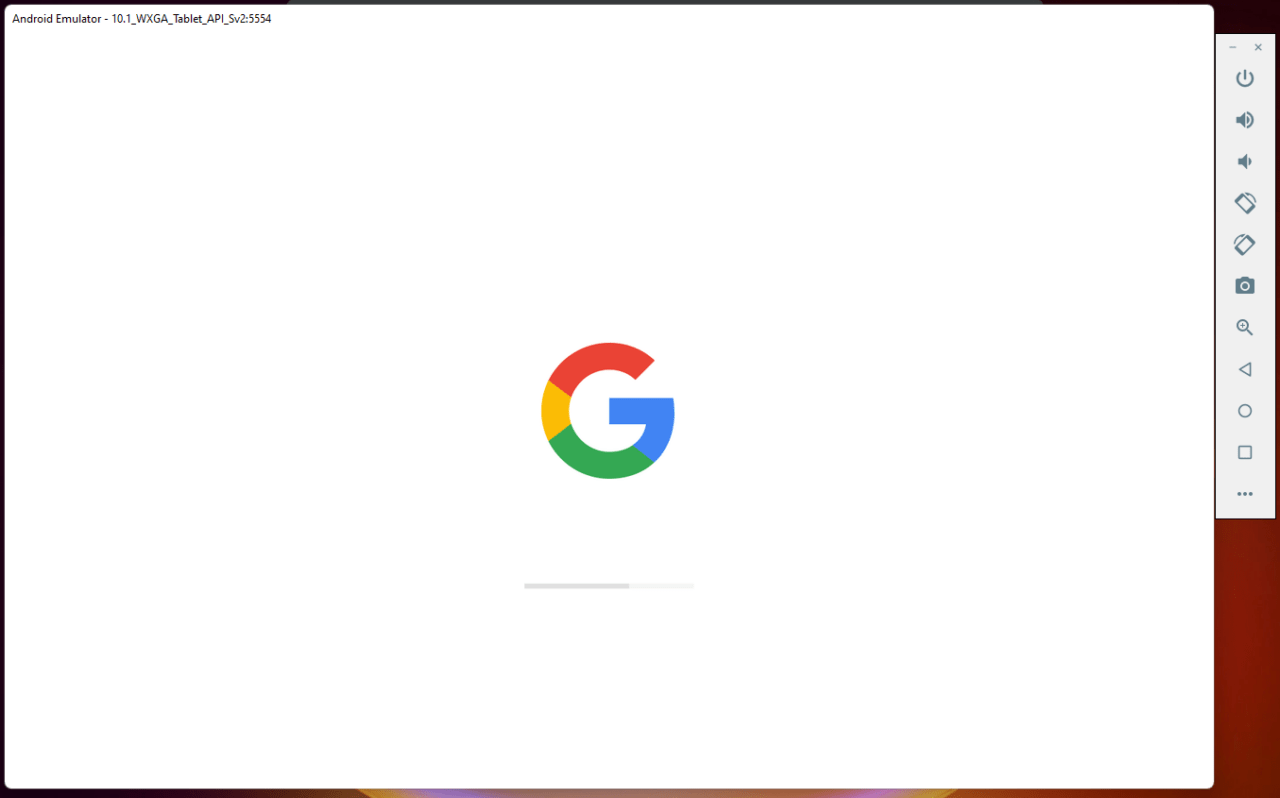
Google logo shows up on the screen with a loading bar.
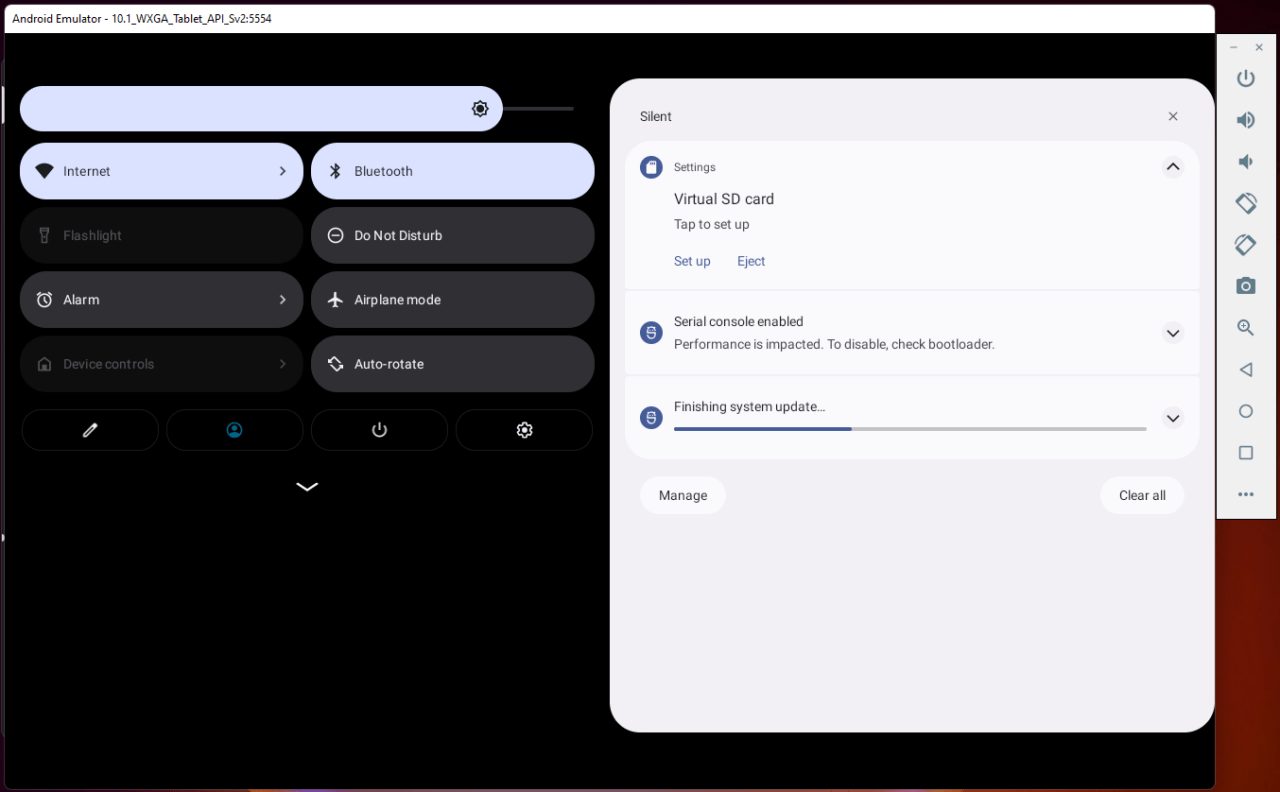
Android 12L emulator is on the screen.
The entire process may seem lengthy, but it isn’t that complicated if you follow my lead. You may encounter complications, but it won’t happen as long as the system requirements are met.
What’s next?
By the way, the Android 12L was stuck on the black screen and didn’t open the next time. You can solve it by wiping the data in the emulator, and I have shown it above. Android 12L is fully functional, but it isn’t a replacement for a physical device, and you can’t use it to run apps. Let us know what do you think about the 12L edition in the comment section below. If you’ve any thoughts on How to Install Android 12L on Windows 11?, then feel free to drop in below comment box. Also, please subscribe to our DigitBin YouTube channel for videos tutorials. Cheers!
How to Fix VLC Player Codec Error in Windows PC? [9+ Methods] How to Open Group Policy Editor in Windows 11? How to Fix DS4Windows Not Detecting Controller on Windows 11?
Comment * Name * Email *


![]()
