It is quite easy to set up parental controls in Windows 10 and enabling the parental controls will help you to block illicit websites, games, applications, restrict screen time, track purchase history, and a lot of stuff. In this guide, we will teach you how to setup parent controls in Windows 10.
How to Setup Parental Controls in Windows 10
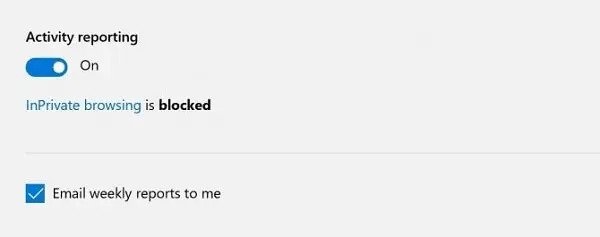
To setup parental controls in Windows 10, you will need to create a new kid account. It is very easy, go to settings and navigate to ‘Accounts’ and then go to ‘Family and Other users’. If you have not signed-in, then sign-in and you will see an option ‘Add a family member’, then click on ‘Add a child’. Complete this wizard and add your kid’s profile. Now follow these steps: Step 1: Go to settings, click on ‘Accounts’, and navigate to ‘Family and other users’. Now on the right side you will see an option of ‘Manage family settings online’, click on it. Step 2: Login to the account and you will see the Windows family controls. Step 3: You will see an option ‘Activity reporting’, turn it on and you will receive a weekly report of your kid’s activity via email. Step 4: You will see various options listed for your kid’s account on the parental control setting. These are options to control or block some websites, apps, games, purchasing history, Xbox settings, and restrict screen time. Just click on each of them to make the changes, it is fairly easy to do so. Step 5: Once you have made all the changes that you wanted related to websites, apps, games, purchasing history, screen time, and other stuff, all you have to do is log out. Note: The websites that you block using the parental controls for your kid will only be blocked on Microsoft Edge and Internet Explorer. So, we suggest you take a step further to block adult content in Windows 10. So, this was all related to how to setup parental controls in Windows 10. Read More About
How to Change the Drive Letter in Windows 10How to Hide System Partitions in Windows 10?


